
Setup
Setup guide
From opening the box to a monitor watching your plant, in about five minutes with the app. Nothing to assemble, nothing to calibrate.
Steps 1 to 3 are the whole job if you use the app. No app, or on an iPhone for now? The browser route further down does exactly the same thing.
What is in the box
Your monitor, a soil probe on a lead, and a USB power lead. You supply a USB power plug, the sort a phone charger uses, and a home wifi network. That is everything.

Step 1, power it up
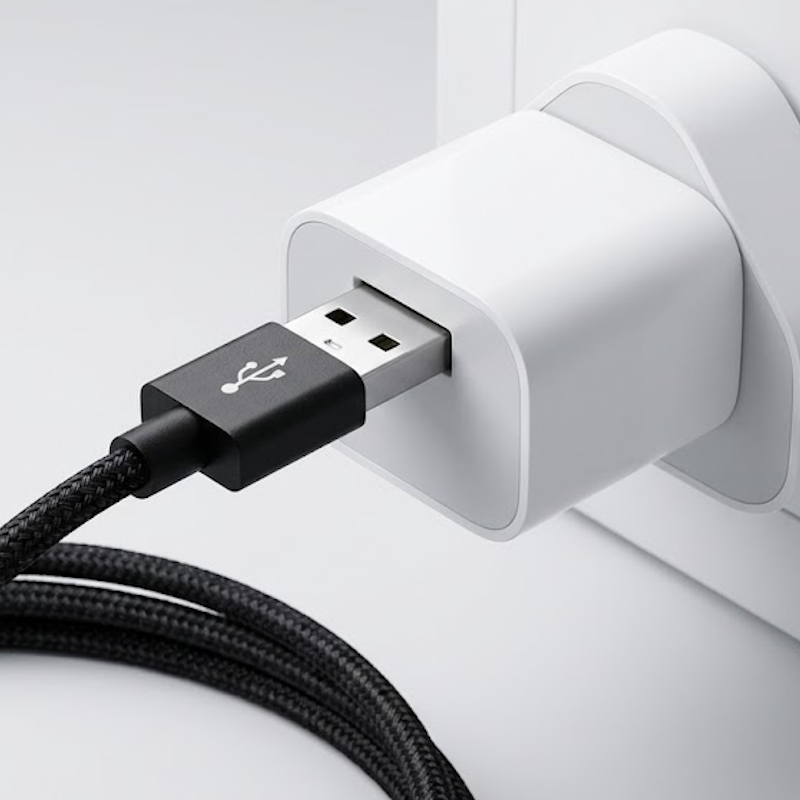
The USB lead is already connected inside the box, so you just plug it into a USB power adaptor or socket. A small light comes on. The monitor stays plugged in, it does not run on batteries.
Step 2, put the probe in the soil
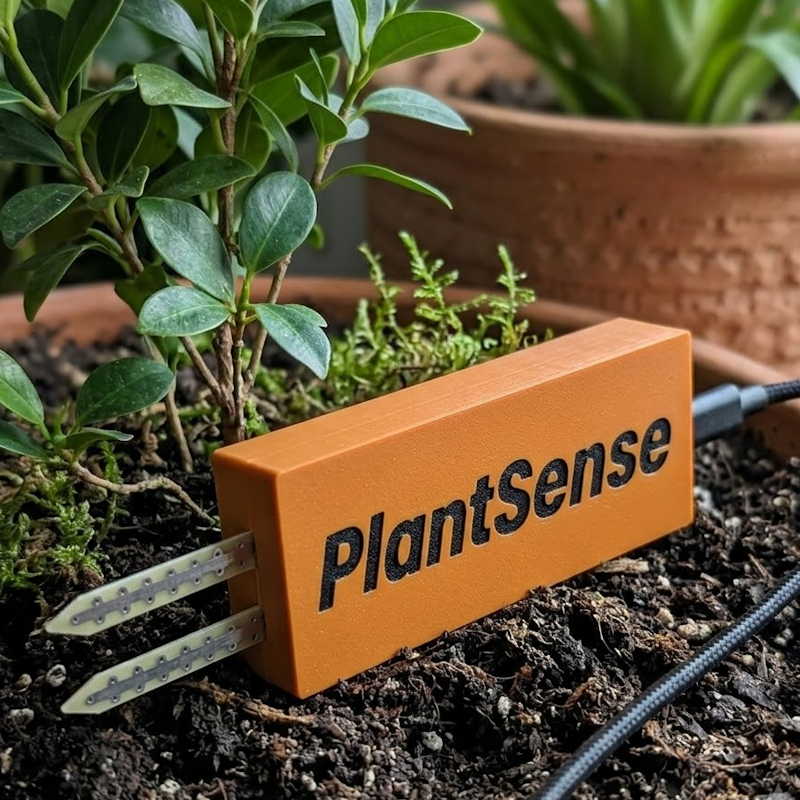
The probe is fitted in the enclosure, so simply push it into the soil next to the plant you want to watch until the box rests on the surface. That places the sensing part at the right depth automatically.
Step 3, set it up in the app
Open the PlantSense app, tap Add monitor, then Set up a new monitor, then Find my monitor. Your phone shows a list of monitors nearby. Tap yours, allow the connection, and type in your home wifi name and password when asked.
That is the whole job. You do not need to switch anything off, and you do not need to go into your wifi settings. When it is finished your phone goes back to its normal wifi on its own.
Your home wifi must be the 2.4GHz band. Almost every router has this on. A monitor cannot join a 5GHz only network.
The app is on Android now, with iOS to follow. Without it, the monitor sets up perfectly well through a browser. Those steps are further down this page.
Step 4, tell it what it is watching
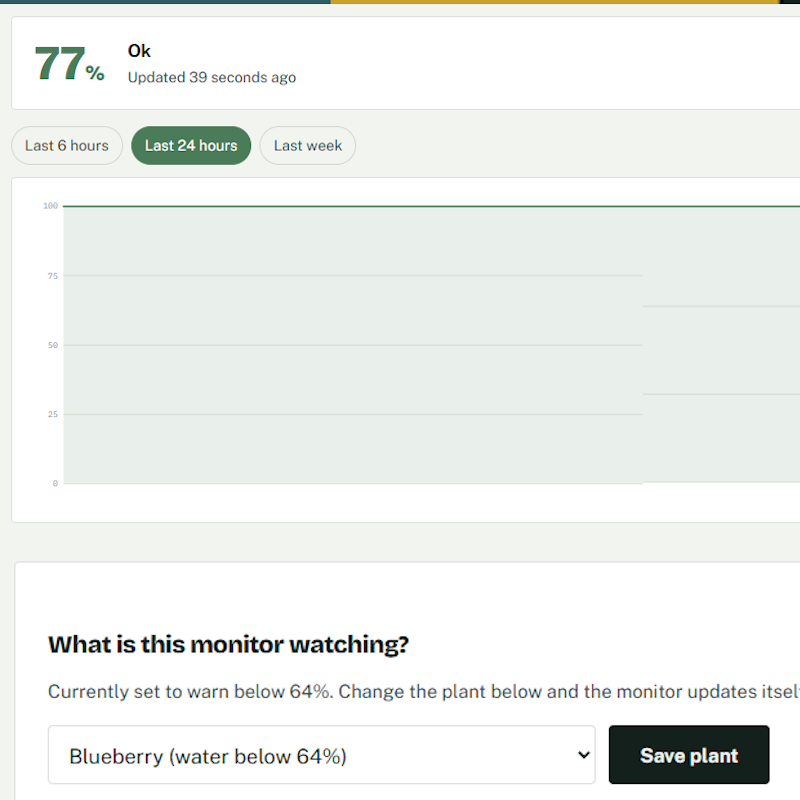
Your monitor needs to know its plant, so it warns you at the right time. In the app, open the monitor and choose your plant. The right watering level is set for you from our plant database.
If you are not using the app, you can set the watering level yourself on the monitor page, or from My monitors if you have an account. Every plant in the plant database lists a tested figure.
Without the app, 1: join the setup network
Everything from here down is the browser route, for anyone not using the app. Steps 1 and 2 above still apply, then carry on here instead of step 3.
The first time it powers on, the monitor makes its own temporary wifi network so you can set it up.
- On your phone, turn mobile data off. A monitor network has no internet, so a phone with mobile data on will ignore it.
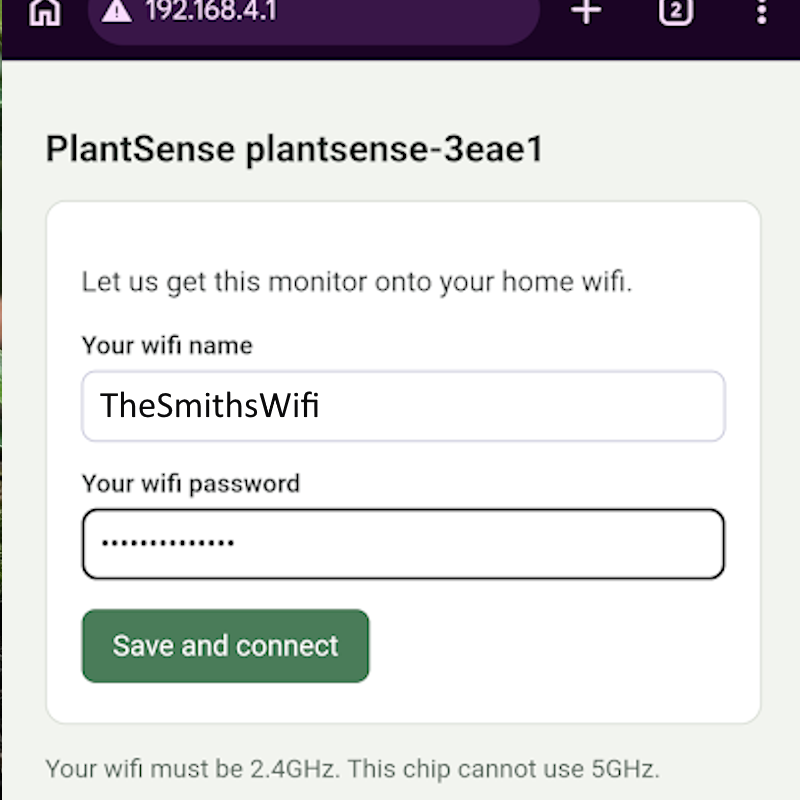
- Open your wifi settings and join the network called plantsense- followed by twelve characters. There is no password.
- If your phone warns that the network has no internet, choose to stay connected.
- A setup page should open by itself. If it does not, open a browser and go to 192.168.4.1
Without the app, 2: note your monitor name
Important. Before you go any further, write down your monitor name. It is the plantsense- name shown on the setup page, for example plantsense-a4b2c3d4e5f6.
You need this name in a moment to open your monitor, and again later if you link the monitor to your account. Once it joins your home wifi, the setup network disappears, so note the name now while it is in front of you.
Without the app, 3: hand over your home wifi
On the setup page, enter your home wifi name and password, and save. The monitor restarts and joins your home network. Your phone drops the temporary network, which is normal, so reconnect your phone to your usual wifi and turn mobile data back on.
Your home wifi must be the 2.4GHz band. Almost every router has this on. A monitor cannot join a 5GHz only network.
Without the app, 4: open your monitor
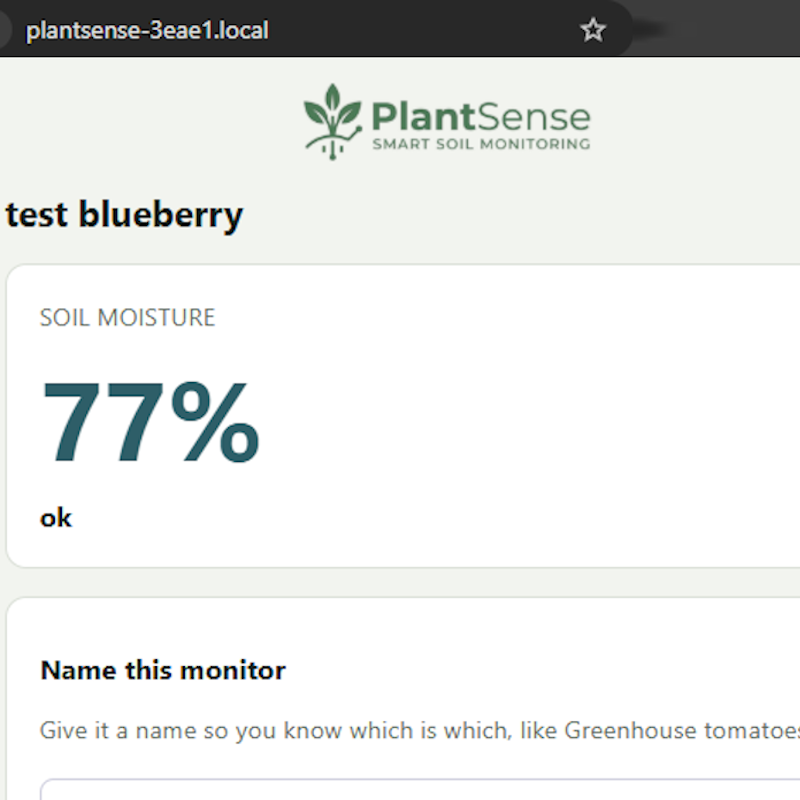
Back on your home wifi, open a browser and go to the monitor name you noted, followed by .local, for example plantsense-a4b2c3d4e5f6.local. You will see the monitor page with a big moisture percentage. This works from any phone, tablet or computer on your wifi, with nothing to install.
Without the app, 5: link it to your account (optional)
Your monitor already works fully on your home wifi, for free. Linking it to your account adds the extra of seeing it when you are away from home, keeping your history, and getting an alert when it needs water. This part is optional, and needs PlantSense Cloud, which every new account gets free for the first week. The app does this part for you, so this is only needed on the browser route.
- Sign in to your account and open My monitors.
- Under Add a monitor, enter your monitor name, the plantsense- one you noted earlier, and give it a friendly name if you like.
- Press Link this monitor. You will be given a connection token, shown once.
Without the app, 6: finish on the monitor
The token tells your monitor which account to report to. Paste it in and you are done.
- Open your monitor again at its .local address on your home wifi.
- Open Advanced settings.
- Turn on Send readings to my account, paste the token, and save.
Within a few minutes the monitor appears in your account with its live reading, viewable from anywhere. If you ever lose the token, just link the monitor again for a fresh one.
If something is not right
Turn the monitor off and on again first, it fixes most things. If it has been set up before, hold it through five quick off and on cycles to reset it. Still stuck? Our help section and contact page are there, and we answer our own emails.